
Introduction
Once a website is developed, it needs to be thoroughly tested for any bugs. After testing, the website becomes ready to be published. Publishing a website is pushing the website to the web server so that it becomes available for the public.
Once the development of a website is finished and its working is tested and verified, then the website is ready to go live. The process of making a website live for users is known as deployment. Deploying a website is the most important part of web development.
Many times clients complain of issues such as data loss, missing emails or site assets. Therefore, developers or designers of the website have to ensure that the website should meet the needs of the clients after it is deployed.
The smooth working of any website depends upon some factors, which should be considered in the development process. All these factors are discussed in this blog.
In this blog, we will learn about how to prepare for deploying a website. You will also learn about DNS record management. Also, you will learn about testing, setting up email and how to take a backup of the full database to enable recovery in case of a failure.
Let's begin...........
Preparation for Deploying a Website
Depending upon the type of deployment, a few scenarios should be considered before finalizing a website. These are:
- When the client has nothing.
- When the client already has a server and wants to deploy the site on his server.
- When the client hs been hosting already but is moving to a new server.
 The first scenario is the case when the client does not have any website and is deploying for the first time. This is the most desired scenario as developers have to start afresh. The second and third scenarios are a bit tricky as compared to the first one as these involve a more thoughtful deployment process.
It is necessary to find out the exact scenario before initiating the deployment process. Preparation can only be better when the developer is clear about the requirement of the client. A smooth launching of a website or a transition from old to new version of the website depends on the scenario and preparations carried out.
In the case of the first scenario, the only thing required is to register the name of the domain and provide/purchase web hosting. This is a simple and fast type of deployment.
In the case of the second and third scenarios, gathering information is required. The domain management credentials for the existing web host are required for managing DNS records. In most cases, the clients have no idea what these are or from where they can get them. Therefore, the developers have to do as much as they can before starting the process.
There is a tool called "whois.domaintools.com" that can be used for finding relevant information about existing domain names on typing the name of the domain in the lookup box, who is information, we'll be displayed.
Here typing "Google" in the search box displays the information about Google on the result page.
It displays the information about Google such as registered emails, registrant organization, server names and much more. The name "whois" is derived from the words "who is". Developers can get in touch with the listed person regarding modification of DNS records or web deployment but if developers do not know then the must ask their clients to do so.
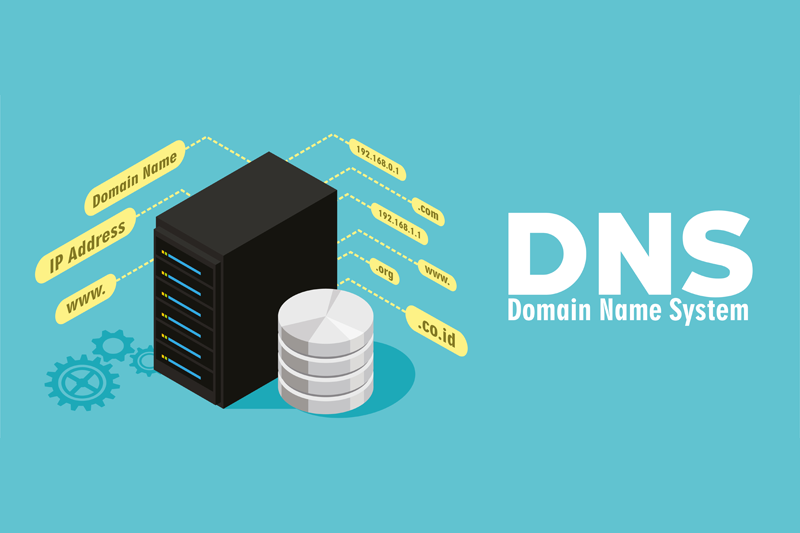
Now let's discuss Domain Name Systems (DNS) record management
DNS Record Management
 It is good to have access to the DNS management administration for setting up the website on a new host. Developers should maintain a record that maps the name of the domain to the IP address or subdomain for recording the live development site. This subdomain name should be pointed to the new server IP address.
There are also easy, free, web-based domain managers such as "ZoneEdit.com" available for DNS access. In case when developers do not have DNS access then these managers are very useful.
Now Let's discuss to modify DNS records.
Access DNS Zone Editor
Management of your records is done through the DNS Zone Editor. The following steps will show you how to access the editor:- Log in to your Bluehost cPanel account.
- Click the Domains at the top of the account
- Click the Zone Editor.
Modify an existing DNS Record
- Select the Domain you're modifying from the drop-down box.
- Under Zone File Records find the record you wish to modify
- Click the Edit button.
- Enter any changes you wish to make
- Click Save.
Add a New Record
Once you have accessed the DNS Zone Editor these steps will explain how to add a new record.- Scroll down to the heading named Add DNS Record.
- In the Host Record field, enter the desired record name.
- Leave the TTL field at its default setting.
- Select the proper entry type for your application, from the drop-down labeled Type.
- In the Points To field, enter the address that the record should resolve to.
- Other fields may appear depending on the type of record you are creating.
- Click on the Add Record button to create the record.
Delete a Record
Once you have accessed the DNS Zone Editor these steps will explain how to delete an existing record.- Select the domain you're modifying from the drop-down box.
- Under Zone File Records find the record you wish to modify
- Click the Delete button next to the record.


1 Comments
Nice sir
ReplyDelete